How to Identify Works on Paper
You have a piece of art on paper. Before you can research it, determine the artist, or figure out what it is worth, you need to know what it is. Such a simple question can be surprisingly difficult. Works on paper come in many forms, and if it is a print, telling the difference between methods often requires a trained eye. That is why we are here to help; all you will need is a magnifying glass.
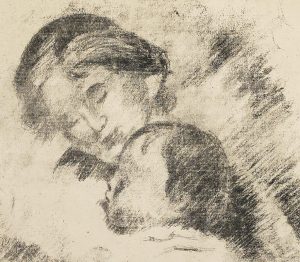
Distinguishing between prints and other mediums such as paint, pen and ink, or charcoal starts by understanding the artistic methods and their corresponding tools. Can you see smooth, defined brush strokes, tiny spots where graphite skipped on textured paper, or the slight bleeding around the edges of ink or watercolor? It is also important to consider texture. Does it work with the grain of the paper? If it appears to be oil or acrylic paint, can you feel the ridges that a brush creates?
If you answered yes, you are one step closer to identifying your piece. Now determine that it does not have the print characteristics listed below, and you can be more confident about your identification. If you answered no to these questions, keep reading to learn more about common print types and ways to identify each technique.
What is a Print?
Prints are created for two purposes: as original works of art or as reproductions of existing pieces. In either scenario, creating a print is an indirect transfer process in which an artist manipulates a hard surface (a “matrix”), and then uses the artistically altered matrix to imprint an image on paper, again and again and again.
Relief Printing:
Common methods: woodblock, linocut
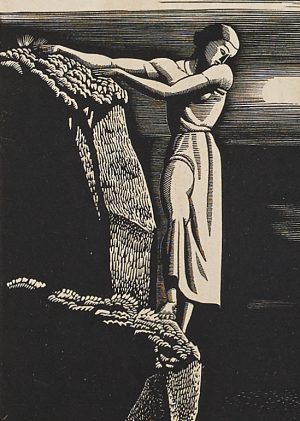
In relief printing, the artist sketches onto a matrix and then carves out areas that will not receive ink. The remaining raised areas are inked, much like a rubber stamp, and pressed to paper. Woodblock printing uses a carved wooden matrix and is the earliest known printing method. It was practiced in 9th century China shortly after the invention of paper, later picked up by Europeans and then skillfully manipulated by the Japanese from the 18th century onward through the ukiyo-e style. Linocuts incorporate the same technique using a sheet of linoleum on top of the wood block to create a smoother printing surface.
The matrix pressing against paper often leaves the resulting image indented. Additionally, working with wood requires certain tools. Look for strokes that indicate knife carving, rounded scoop marks from gouging, or angled chisel marks. Woodcuts differ from linocuts in that sometimes the wood grain is transferred to the image. Linocuts have a smoother appearance and more even areas of color or ink with the same carved aesthetic.
Intaglio Printing:
Common methods: etching, aquatint, engraving, drypoint, mezzotint
Intaglio Printing is derived from the Italian intagliare, meaning, “to incise.” Whether using acid, as etching and aquatints do, or a sharp tool, this process is the opposite of Relief Printing, removing the image instead of the background from the matrix surface. The artist then covers the entire plate with ink, allowing it to fill the image crevices, before wiping it away and pressing the matrix to paper. Evidence of a plate mark, an indented ridge that frames the image, is a common identifying factor, caused by the unobstructed pressure of the plate against paper. Additionally, because it is drawn out by the paper rather than pressed on, ink used in these methods often has a slightly raised appearance.
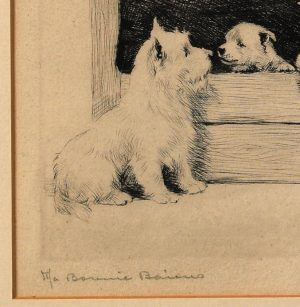
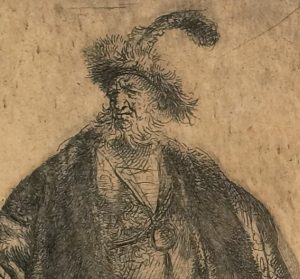
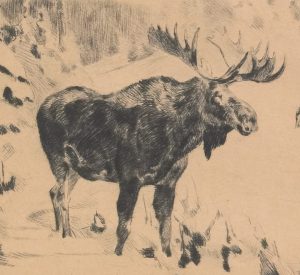
Etching- With etching, an artist first applies acid resistant ground to a metal plate, then incises an image through this layer to expose the metal beneath. The plate is next placed in acid, which “bites” the metal where it is exposed, creating grooves for ink to fill. Artists add contour or shading by changing the shape, direction, and quantity of their incised lines. Because of the tool use, the lines are a uniform width. When an artist stabs through the ground to make dots or slashes, this is called stipple etching.
Aquatint- Aquatint images are created using rosin dust that bonds to the metal plate when heated. The dust resists acid, making the image appear lighter or darker depending on particle sizes as the acid bites around them. This technique is often used together with etching and can be identified by an allover grainy texture when viewed up close.
Engraving- To create an engraving, an artist removes his or her desired image from a plate using a handheld tool called a “burin.” The Spencer Museum of Art described the process as similar to apple paring because the ground, often copper, is scrapped away in small spirals. One can identify engraving because of its distinctive lines. Lines start at a point, grow and then taper at the conclusion of the artist’s stroke. Though etching and engraving are very similar in appearance, remember, etching lines are uniform. Triangular flicks or stabs, characteristic of a burin stroke, are also indicative.
Drypoint- Drypoint involves directly scratching the metal plate and differs from engraving because it displaces metal rather than removing it. Under close inspection, drypoint lines are ragged and natural as compared to neatly-cut engraving lines. The ragged edge, or “burr” on either side of the lines create a feathery look. The burr holds ink well, but gets worn down under pressure, limiting the number of editions that drypoint prints can produce. Early editions are often described as having “lots of burr.”
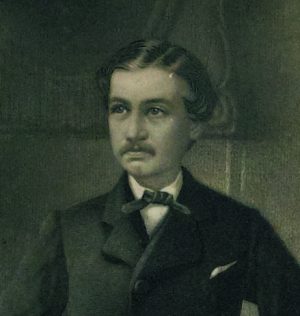
Mezzotint- Mezzotints differ from other intaglio techniques in that the artist works from dark to light. He or she uses a multi-pointed tool called a “rocker” to score the entire plate surface. If it were inked in this stage, the print would come out entirely black. Lighter variations appear through selectively scraping and burnishing the plate to smooth it out, allowing less ink to collect in the grooves. This polishing effect gives mezzotints a smooth, hazy tone and occasionally allows the rows of uniform tiny dots created by the rocker to show through.
Planographic Prints:
Common methods: lithography, serigraphy
This category of prints is known for flat surfaces resembling paintings. Ink is neither pulled from incisions nor pressed down onto paper, it exists on the same plane, thus “Planographic.”
Lithography- To create a lithograph, an artist uses a greasy crayon or liquid to draw an image on a slab of limestone. The stone is wiped with a solution that will encourage the greasy image to pick up ink (blank areas will repel ink and pick up water). Next, the artist dampens the stone with water that is absorbed by the blank areas, and applies printing ink with a roller. The oily ink does not stick to the wet areas, but adheres to the image. Finally, a sheet of damp paper is placed on top and the whole piece is run through a press. Artists use separate, layered stones for each color. Called a chromolithograph, this is the most common, non-mechanical technique for reproducing paintings. Lithographs demonstrate a stippling pattern throughout. The texture mimics its limestone matrix with dots that appear smaller than mezzotint roller marks, are not in a set pattern, and are less defined than aquatint grains.
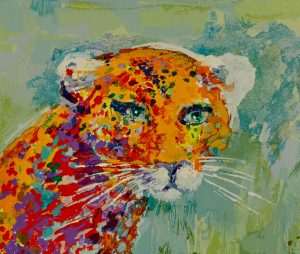
Serigraphy- To generate a serigraph, an artist creates a stencil, cutting away areas that will receive color, and places it over a mesh screen. Ink or paint is then squeezed through the open areas of the screen onto paper. A separate screen is used for each color and applied one at a time, creating a layered effect that is the best method for identifying a serigraph.
Other Possibilities for Works on Paper:
Offset Prints- Offset prints, or mechanically-printed reproductions of artwork, are easily identified through close viewing. Colors are composed of a series of uniformly-sized, colored dots in a consistent, pattern that looks computer-generated. Check for this before further identifying your piece.
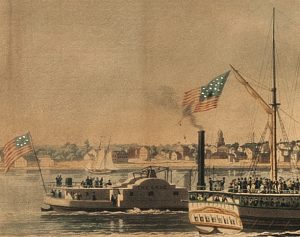
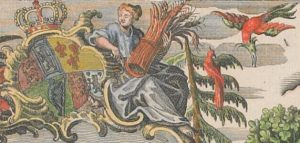
Hand-Coloring- Intaglio prints are often over-painted to add color, a process called hand-coloring. One can identify a hand-colored, or hand painted, work by looking at the borders between colors. A hand-colored work will demonstrate small flaws such as color overlaps or imprecise lines. Prints done in color will have more accurate borders and solid edges.
Did this article help? If you are still unsure, see the sources below for more information. Share your findings and tag us on Twitter @Bidsquare or Instagram @bidsquaredotcom.
Sources for Further Exploration:
The Museum of Modern Art’s “What is a Print” Interactive: offering step-by-step illustrations for different printing processes
http://www.moma.org/interactives/projects/2001/whatisaprint/flash.html
The University of Kansas’s Spencer Museum of Art Print Center, “Image Maps of Printmaking Techniques”: descriptions and helpful magnified views of each printing type to distinguish amongst techniques.
http://www.spencerart.ku.edu/collection/print/maps/
International Fine Print Dealer’s Association, “Glossary”: a glossary of printing terms
http://www.ifpda.org/content/collecting_prints/glossary

